
Lesson 12 of 12 · 5:06
Install airgapped Plane from your own registry and license it with a file
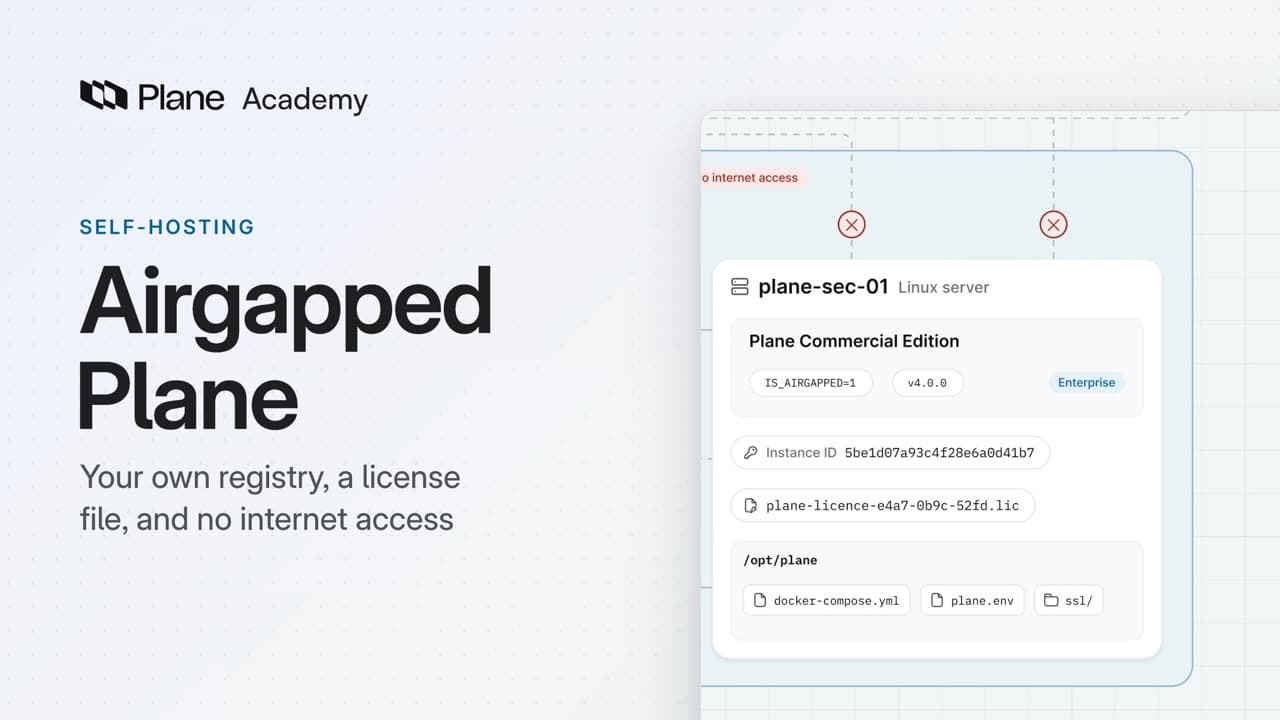
How airgapped Plane, the Commercial Edition set up for a network with no internet access, installs from your own container registry and takes its license as a file, from copying the images and starting Plane with Docker Compose to activating the license and updating.
In this course
- 1Self-hosted Plane4:35
- 2Install with Docker5:09
- 3Domain, HTTPS, email5:45
- 4Sign-in and SSO5:47
- 5Plans and licenses5:40
- 6Run your instance5:27
- 7Back up, restore, and upgrade6:17
- 8Production data5:18
- 9Kubernetes with Helm6:29
- 10Integrations and the MCP server5:52
- 11Plane AI, search, and scanning5:52
- 12Airgapped Plane5:06
What you will learn
- Airgapped Plane is the Commercial Edition set up for a network with no internet access. It installs from your own container registry and takes its license as a file, so the server never has to reach the internet.
- It comes with Enterprise Grid only, for 100 seats or more, through sales. It runs the usual Commercial images in airgapped mode, so Plane never asks prime.plane.so about licenses or new versions.
- At first start, the instance gives itself an instance ID, since it never registers with Plane. Its license is a file signed for that ID.
- An airgapped install doesn't use Prime CLI. You need Docker 24 or later with ports 80 and 443 open, a private registry on the same network, a workstation that reaches both the internet and that registry, and a certificate from your own certificate authority.
- On the workstation, download the airgapped compose and env files for your version from prime.plane.so and copy every image into your registry with crane. On the server, carry both files to /opt/plane, point the image lines at your registry, set your domain in plane.env, put cert.pem and key.pem in an ssl folder, and run docker compose --env-file plane.env up -d.
- In God mode, Billing shows an Activate Enterprise card. Copy the instance ID, download a license file signed for it from prime.plane.so, and activate it. Plane checks its signature, its expiry, and the instance ID it names.
- There is no license sync. The file is valid until your subscription period ends, and Unlink license key on the card's menu releases it so you can activate a new file.
- An update is the same image copy and the same up command with the new version's files. The license stays, because the file is bound to your instance ID, not to a Plane version.
Plane on an isolated network
0:00Airgapped Plane is the Commercial Edition, set up for a network with no internet access.
It installs from your own container registry and takes its license as a file, so the server never has to reach the internet. This lesson copies the images, installs Plane, licenses it with a file, and updates it.
Plan an airgapped install
0:27Airgapped Plane comes with Enterprise Grid only, for 100 seats or more, and you get it through sales.
It runs the usual Commercial images in airgapped mode, so Plane never asks prime.plane.so about licenses or new versions. At first start, the instance gives itself an instance ID, since it never registers with Plane. Its license is a file signed for that ID.
An airgapped install doesn't use Prime CLI. You run Plane with Docker Compose, on Docker 24 or later, with ports 80 and 443 open.
You also need a private container registry on the same network, and a workstation that reaches both the internet and that registry.
For HTTPS, use a certificate from your own certificate authority, because the server can't reach Let's Encrypt.
Install from your own registry
1:28Start on the workstation.
- Download the airgapped compose file and env file for your Plane version from
prime.plane.so. - The compose file names every image Plane runs, including Postgres, Valkey, RabbitMQ, and MinIO. Copy them into your registry with crane: export the version and your registry address, log crane in to the registry, and run a script that copies each image in turn.
- Carry both files to the server, into
/opt/plane, and point every image line in the compose file at your registry. - In
plane.env, set your domain, with HTTPS for the web URL and the allowed origins. - Put the certificate and its key in an
sslfolder besideplane.env, ascert.pemandkey.pem. - Now start Plane. Docker pulls the images from your registry.
docker compose --env-file plane.env up -d
Follow the migrator's log until the migrations finish, then the API's until it's listening. The proxy's log confirms your certificate.
Open your domain, and create the instance admin in God mode, as on any new instance.
License it with a file, and update it
2:55- In God mode, open Billing. The Activate Enterprise card asks for the license file signed for this instance.
- Copy the instance ID from the card's instance details.
- On the workstation, open your license on
prime.plane.so, and choose Download License. - Pick the Plane version the instance runs, which sets the file's format, then enter the instance ID. The portal signs a license file for that instance.
- Bring the file across, drop it on the card, and choose Activate. Plane checks its signature, its expiry, and the instance ID it names.
Billing now shows Enterprise with an Airgapped badge, your seats, and a License card for the offline file.
There's no license sync. The file is valid until your subscription period ends, and then every workspace drops to Free.
To change seats, plan, or expiry, choose Unlink license key on the card's menu, then activate a new file. Enterprise features stop until you do.
For an update:
- Copy the new version's images and download its compose and env files, as before.
- Start from the new files, bring your values across, point the images at your registry, and run the same
upcommand.
The license stays in place, because the file is bound to your instance ID, not to a Plane version.
Back up by stopping Plane and copying /opt/plane. That folder holds plane.env, the compose file, your certificate, and the data.
Recap
4:44Airgapped Plane installs and updates from your own registry, and a license file signed for its instance ID turns on Enterprise Grid.
Try it in your workspace
On a workstation with internet access, download the airgapped compose file and env file for your Plane version from prime.plane.so.
Transcript
Show the transcript
Plane on an isolated network
0:02Airgapped Plane is the Commercial Edition, set up for a network with no internet access.
0:09It installs from your own container registry and takes its license as a file, so the server never has to reach the internet.
0:18You'll copy the images, install Plane, license it with a file, and update it. Let's take a closer look.
Plan an airgapped install
0:30Airgapped Plane comes with Enterprise Grid only, for 100 seats or more, and you get it through sales.
0:37It runs the usual Commercial images in airgapped mode, so Plane never asks prime.plane.so about licenses or new versions.
0:48At first start, the instance gives itself an instance ID, since it never registers with Plane. Its license is a file issued for that ID.
0:58An airgapped install doesn't use Prime CLI. You run Plane with Docker Compose, on Docker 24 or later, with ports 80 and 443 open.
1:09You also need a private container registry on the same network, and a workstation that reaches both the internet and that registry.
1:18For HTTPS, use a certificate from your own certificate authority, because the server can't reach Let's Encrypt.
Install from your own registry
1:30Start on the workstation. Download the airgapped compose file and env file for your Plane version from prime.plane.so.
1:40The compose file names every image Plane runs, including Postgres, Valkey, RabbitMQ, and MinIO. Copy them into your registry with crane.
1:51Export the version and your registry address, log crane in to the registry, and run a script that copies each image in turn.
2:01Carry both files to the server, into /opt/plane, and point every image line in the compose file at your registry.
2:10In plane.env, set your domain, with HTTPS for the web URL and the allowed origins.
2:18Put the certificate and its key in an ssl folder beside plane.env, as cert.pem and key.pem.
2:27Now start Plane with docker compose --env-file plane.env up -d. Docker pulls the images from your registry.
2:39Follow the migrator's log until the migrations finish, then the API's until it's listening. The proxy's log confirms your certificate.
2:49Open your domain, and create the instance admin in God mode, as on any new instance.
License it with a file, and update it
2:59In God mode, open Billing. The Activate Enterprise card asks for the license file issued for this instance.
3:07Copy the instance ID from the card's instance details.
3:12On the workstation, open your license on prime.plane.so, and choose Download License.
3:20Pick the Plane version the instance runs, which sets the file's format, then enter the instance ID. The portal signs a license file for that instance.
3:31Bring the file across, drop it on the card, and choose Activate. Plane checks its signature, its expiry, and the instance ID it names.
3:41Billing now shows Enterprise with an Airgapped badge, your seats, and a License card for the offline file.
3:49There's no license sync. The file is valid until your subscription period ends, and then every workspace drops to Free.
3:59To change seats, plan, or expiry, choose Unlink license key on the card's menu, then activate a new file. Enterprise features stop until you do.
4:11For an update, copy the new version's images and download its compose and env files, as before.
4:18Start from the new files, bring your values across, point the images at your registry, and run the same up command.
4:27The license stays in place, because the file is bound to your instance ID, not to a Plane version.
4:35Back up by stopping Plane and copying /opt/plane. That folder holds plane.env, the compose file, your certificate, and the data.
Recap
4:47Airgapped Plane installs and updates from your own registry, and a license file issued for its instance ID turns on Enterprise Grid.
Read next
Plans
- Enterprise Grid:
- Airgapped Plane, for 100 seats or more