
Lesson 2 of 12 · 5:09
Install Plane with Docker, with one command and Prime CLI
How a Docker install puts self-hosted Plane on one Linux server with Prime CLI, from preparing the server and running the one-line install with your domain to becoming the instance admin in God mode and creating the first workspace.
In this course
- 1Self-hosted Plane4:35
- 2Install with Docker5:09
- 3Domain, HTTPS, email5:45
- 4Sign-in and SSO5:47
- 5Plans and licenses5:40
- 6Run your instance5:27
- 7Back up, restore, and upgrade6:17
- 8Production data5:18
- 9Kubernetes with Helm6:29
- 10Integrations and the MCP server5:52
- 11Plane AI, search, and scanning5:52
- 12Airgapped Plane5:06
What you will learn
- A Docker install runs self-hosted Plane on one Linux server. Prime CLI, Plane's command line tool, installs and manages it.
- The server needs at least two cores and four gigabytes of memory, or eight for production, root or sudo access, a DNS A record for your domain, ports 80 and 443 open, and outbound access to prime.plane.so and Docker Hub.
- You do not need to install Docker first. If it is missing, setup installs it on Ubuntu, Debian, CentOS, and Amazon Linux.
- The one-line installer from prime.plane.so puts Prime CLI on the server and starts setup with your domain. Always pass --domain: setup cannot prompt through the pipe, so without the flag it uses the server's IP address instead.
- Setup checks for an earlier install and a free port 80, prepares Docker, downloads the configuration for the latest release, pulls the images, starts the containers, waits for the migrator, and prints the address, which uses plain HTTP until you turn on HTTPS.
- Plane's files live in /opt/plane: plane.env holds its settings, the compose file lists its services, data holds the database and uploads, and logs keeps the logs from the API and its workers. prime-cli healthcheck lists every service.
- Until an instance admin exists, every visitor sees Welcome to Plane. Get started opens God mode at /god-mode, where Setup your Plane Instance creates your account as the instance admin.
- The first workspace comes from the Create workspace card in God mode. God mode keeps its own sign-in, so you open the workspace and sign in with the same email and password.
Install Plane with Docker
0:00A Docker install runs self-hosted Plane on one Linux server. Prime CLI, Plane's command line tool, installs and manages it.
One command installs Prime CLI. It adds Docker if the server needs it, pulls Plane's images, and starts Plane behind a built-in proxy at your domain.
Prepare the server
0:33- Start with a Linux server, such as Ubuntu, with at least two cores and four gigabytes of memory, or eight gigabytes for production.
- Sign in over SSH as root, or as a user with
sudo, because the installer usessudo. - Point your domain at the server with a DNS A record. Plane builds its links from that domain, so pick the one your team will keep.
- Open ports 80 and 443. The built-in proxy listens on both, and setup stops at its port check if another program already holds port 80.
- Give the server outbound access to
prime.plane.soand Docker Hub. Setup registers the instance with the first and pulls images from the second.
You do not need to install Docker first. If it is missing, setup installs it on Ubuntu, Debian, CentOS, and Amazon Linux.
Run the install
1:34-
Run the one-line installer from
prime.plane.so, and pass your domain with--domain, with your own domain after the flag.curl -fsSL https://prime.plane.so/install/ | sh -s -- --domain plane.norhavenports.com -
The installer puts Prime CLI on the server and starts its setup with your domain. Always pass the domain: setup cannot prompt through the pipe, so without the flag, it uses the server's IP address instead.
-
Setup first checks for an earlier install and a free port 80, then prepares Docker.
-
It downloads the configuration for the latest release and pulls Plane's images, several at a time.
-
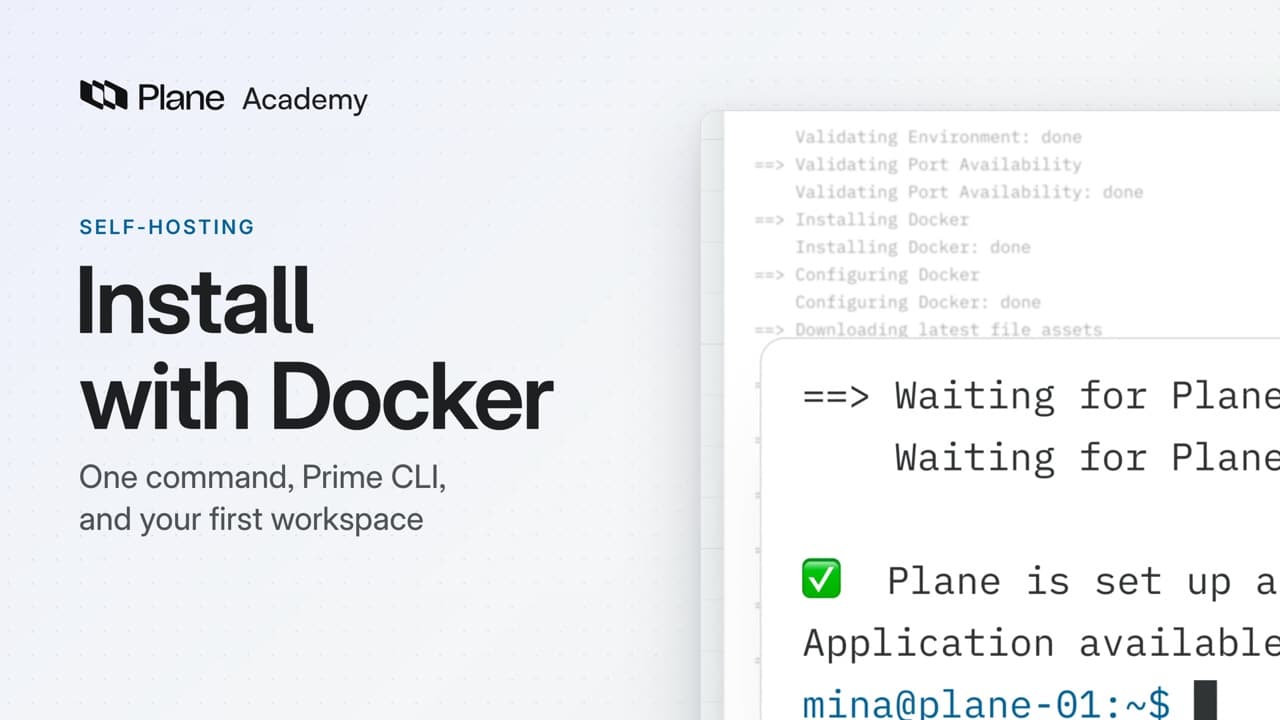
With the images pulled, setup starts the containers and waits for the migrator to prepare the database. The last five lines of its log show the progress.
-
When the API answers, Prime CLI confirms that Plane is set up and running, and prints its address. The address uses plain HTTP until you turn on HTTPS.
Plane's files live in /opt/plane. Its settings are in plane.env, and the compose file lists its services. The data folder holds the database and uploaded files, and the logs folder keeps logs from the API and its workers.
For a first check, run sudo prime-cli healthcheck. It lists every service, and each running one should read healthy. The migrator reads gracefully stopped because its work is done, and add-ons that start switched off, such as email, read disabled.
Finish setup in the browser
3:14- Open your domain in a browser. Until an instance admin exists, every visitor sees Welcome to Plane, with one button, Get started.
- Get started opens God mode, the instance admin app at
/god-mode. On a new instance, it shows a form titled Setup your Plane Instance. - Enter your name and work email, then your company name, which Plane uses as the instance's name.
- Set a strong password and confirm it. Continue stays disabled until the password passes the strength check and both entries match.
- A checkbox lets Plane collect anonymous usage events. It starts checked, and you can change it later in General.
- Continue creates your account as the instance admin and opens God mode on General.
- Since no workspace exists yet, a Create workspace card appears. Its button opens the form for the first one.
- Name the workspace, and Plane fills in its URL. Choose how many people will use it, then select Create workspace.
- The workspace appears under Workspaces, with you as its owner.
- God mode keeps its own sign-in. Open the workspace from the list, and sign in with the same email and password. Plane asks for your profile once, then opens the workspace at your domain.
Recap
4:50One command installed Plane at your domain, God mode made you its instance admin, and the first workspace is in place.
Try it in your workspace
On your Linux server, run the one-line installer from prime.plane.so and pass your domain with --domain, then open that domain in a browser and choose Get started.
Transcript
Show the transcript
Install Plane with Docker
0:02A Docker install runs self-hosted Plane on one Linux server. Prime CLI, Plane's command line tool, installs and manages it.
0:13One command installs Prime CLI. It adds Docker if the server needs it, pulls Plane's images, and starts Plane behind a built-in proxy at your domain.
0:24You'll prepare the server, run the install, become the instance admin, and create the first workspace. Let's take a closer look.
Prepare the server
0:37Start with a Linux server, such as Ubuntu, with at least two cores and four gigabytes of memory, or eight gigabytes for production.
0:46Sign in over SSH as root, or as a user with sudo, because the installer uses sudo.
0:54Point your domain at the server with a DNS A record. Plane builds its links from that domain, so pick the one your team will keep.
1:03The built-in proxy listens on ports 80 and 443, so open both. Setup stops at its port check if another program already holds port 80.
1:14You don't need to install Docker first. If it's missing, setup installs it on Ubuntu, Debian, CentOS, and Amazon Linux.
1:24Setup registers the instance with prime.plane.so and pulls images from Docker Hub, so the server needs outbound access to both.
Run the install
1:37Run the one-line installer from prime.plane.so, and pass your domain with --domain.
1:45The installer puts Prime CLI on the server and starts its setup with your domain.
1:51Always pass the domain. Setup can't prompt through the pipe, so without the flag, it uses the server's IP address instead.
2:00Setup first checks for an earlier install and a free port 80, then prepares Docker.
2:07It downloads the configuration for the latest release and pulls Plane's images, several at a time.
2:14With the images pulled, setup starts the containers and waits for the migrator to prepare the database. The last five lines of its log show the progress.
2:24When the API answers, Prime CLI confirms that Plane is set up and running, and prints its address. The address uses plain HTTP until you turn on HTTPS.
2:37Plane's files live in /opt/plane. Its settings are in plane.env, and the compose file lists its services.
2:47The data folder holds the database and uploaded files, and the logs folder keeps logs from the API and its workers.
2:55For a first check, run prime-cli healthcheck. It lists every service, and each running one should read healthy.
3:04The migrator reads gracefully stopped because its work is done, and add-ons that start switched off, such as email, read disabled.
Finish setup in the browser
3:18Open your domain in a browser. Until an instance admin exists, every visitor sees Welcome to Plane, with one button, Get started.
3:28Get started opens God mode, the instance admin app at /god-mode. On a new instance, it shows a form titled Setup your Plane Instance.
3:39Enter your name and work email, then your company name, which Plane uses as the instance's name.
3:47Set a strong password and confirm it. Continue stays disabled until the password passes the strength check and both entries match.
3:56A checkbox lets Plane collect anonymous usage events. It starts checked, and you can change it later in General.
4:05Continue creates your account as the instance admin and opens God mode on General.
4:11Since no workspace exists yet, a Create workspace card appears. Its button opens the form for the first one.
4:20Name the workspace, and Plane fills in its URL. Choose how many people will use it, then select Create workspace.
4:29The workspace appears under Workspaces, with you as its owner.
4:34God mode keeps its own sign-in. Open the workspace from the list, and sign in with the same email and password.
4:44Plane asks for your profile once, then opens the workspace at your domain.
Recap
4:52One command installed Plane at your domain, God mode made you its instance admin, and the first workspace is in place.